Bambu Lab
Every FilamentFeed story on Bambu Lab — news, reviews, and analysis, newest first.
-
Guides
Prusa's INDX Toolchanger Earns Editor's Choice: Nearly Waste-Free 8-Color Printing at $2,249
Tom's Hardware gave the Prusa CORE One+ INDX a 4.5/5 Editor's Choice, praising a wiper-based toolchanger that purges just ~13mg of filament per color swap — no prime tower required — for $2,249.
-
Guides
Tom's Hardware Tests the Prusa CORE One+ INDX: A Waste-Free Toolchanger
Tom's Hardware's hands-on review of the Prusa/Bondtech INDX toolchanger on the CORE One+ Gen 2 finds induction-heated, purge-tower-free 8-color printing at Core-XY speed — for a real-world $2,249.
-
Guides
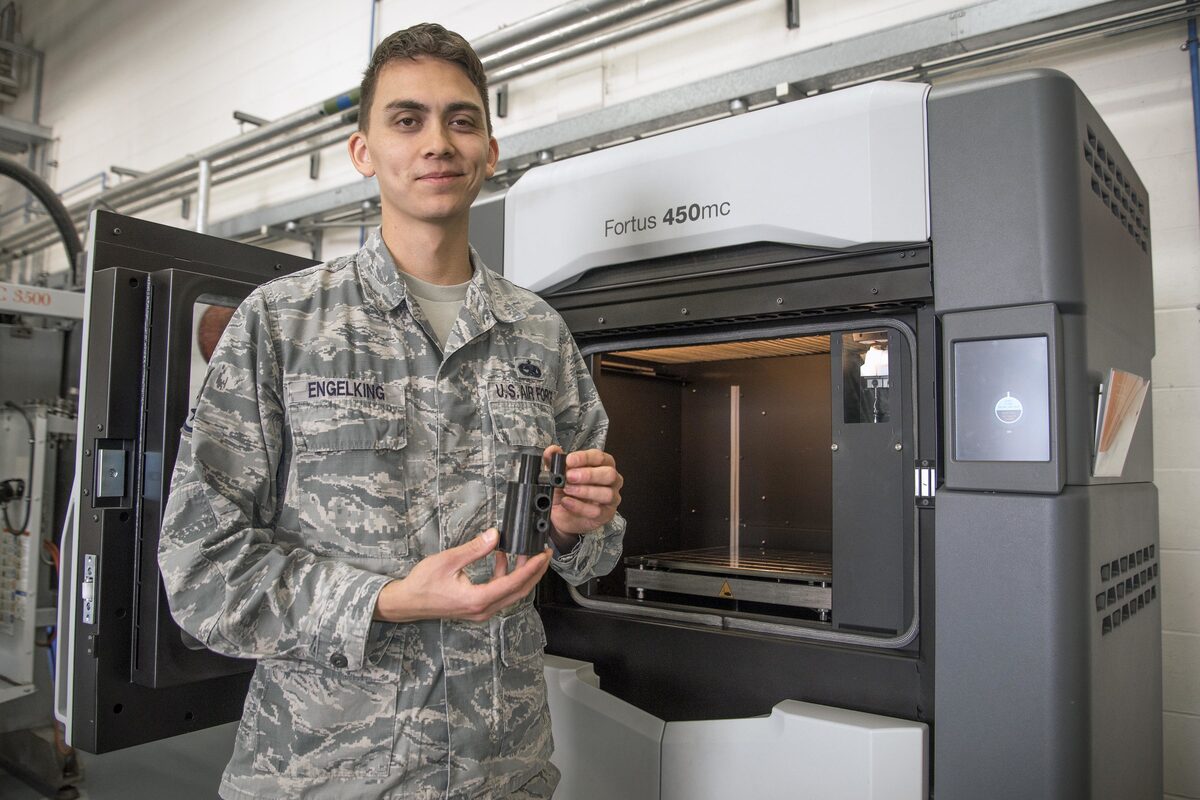
A YouTuber Pit $250 Desktop PC-ABS Against a Six-Figure Stratasys Fortus — the Industrial Machine Barely Won
My Tech Fun's head-to-head found desktop PC-ABS from a Prusa Core One L and Bambu Lab H2D nearly matched a six-figure Stratasys Fortus 450mc on strength and beat it on looks, with dimensional accuracy the industrial machine's only clear win.
-
Guides
Flow Calibration Explained: Getting Your Extrusion Multiplier Right
Why flow rate governs dimensional accuracy, layer bonding, and surface finish, how Orca Slicer's wizard differs from Bambu Studio's own calibration flow, and how to organize per-filament flow profiles across a library and multiple printers.
-
Guides
A Single 20-Second Laser Flash Now Prints an Entire 3D Microstructure at Once
Utah engineers built a holographic 3D printer that solidifies a whole microstructure from one 20-second laser exposure instead of hours of layer-by-layer scanning — for now, only at micrometer scale.
-
Guides
ASTM's New Defense Certification Guide Aims to End the AM Qualification Patchwork
ASTM and the UK MOD's Project TAMPA published a free, tech-agnostic guide that sorts 3D-printed defense parts into four criticality classes and two certification paths, aiming to stop programs from reinventing AM qualification from scratch.
-
Guides
Snap Fit Design for 3D Printing: Deflection Math, Tolerances, and Material Tradeoffs
Cantilever and annular snap fits are deceptively simple mechanisms that FDM printers struggle to reproduce reliably. Here is the geometry, deflection math, clearance strategy, and material selection logic to get them right on the first print.
-
Guides
Manual Color Swaps Without an AMS: G-Code Pause Commands in PrusaSlicer, OrcaSlicer, and Bambu Studio
Multi-color printing without a filament changer is entirely achievable using M600 and pause-at-layer commands. The slicer implementations differ in important ways, and getting the G-code sequencing wrong produces failed swaps, ooze blobs, or color bleed that contaminates the swap layer.
-
Guides
Variable Layer Height: How Adaptive Slicing Gets Better Surface Quality Without the Time Penalty
Adaptive or variable layer height lets slicers use thin layers where they matter and thick layers where they don't. The result is better surface quality at nearly the same print time.
-
Guides
Designing and Printing Watertight Parts: Vases, Containers, and Plumbing Fittings
FDM prints aren't watertight by default. Layer gaps, infill voids, and perimeter seams all leak. Here's how to close them — in the slicer, the design, and post-processing.
-
Guides
First-Time 3D Printer Setup: From Unboxing to First Successful Print
New printer, blank slate. The gap between unboxing and a clean first print is narrower than it used to be — but getting there still requires understanding a few non-obvious steps.
-
Guides
3D Printer Bed Adhesion: PEI, Glass, BuildTak, and Flex Plates Compared
Your build surface determines how prints stick, release, and survive long-term use. This guide compares PEI, glass, BuildTak, garolite, and textured flex plates across materials and use cases.